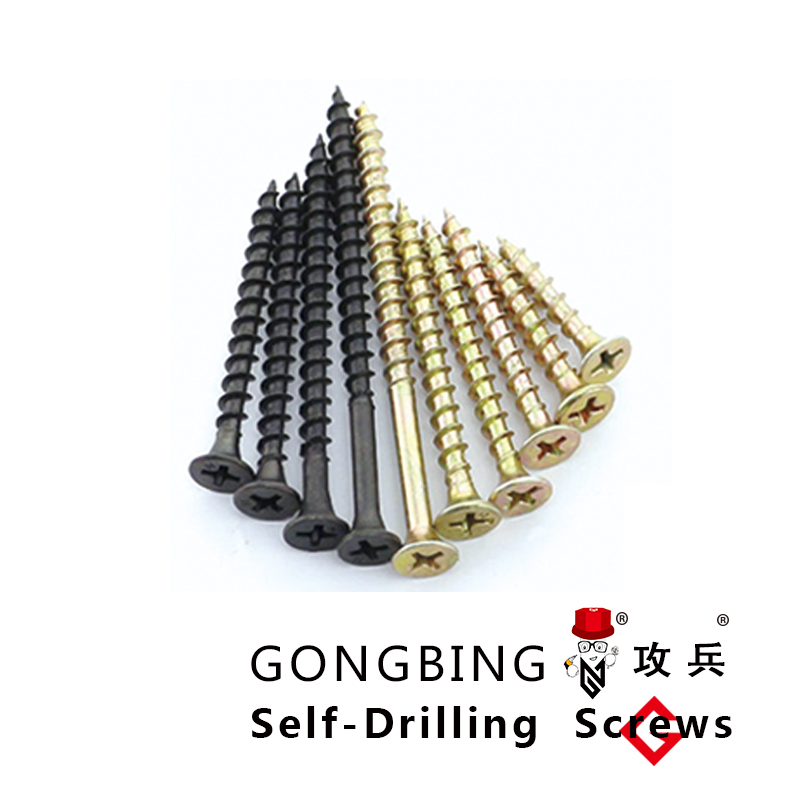
chipboard fixings
Understanding Chipboard Fixings A Comprehensive Guide
Chipboard, often referred to as particle board, is a versatile engineered wood product made from wood chips, sawmill shavings, and residuals bonded together with adhesives under heat and pressure. It has gained popularity due to its affordability and ease of use in various applications, from furniture manufacturing to construction. However, one crucial aspect that often gets overlooked is the importance of choosing the right fixings for chipboard to ensure durability and structural integrity.
What Are Chipboard Fixings?
Chipboard fixings refer to the various types of hardware and fasteners specifically designed for use with chipboard materials. These fixings are essential for securely joining chipboard pieces together or attaching them to other surfaces, such as walls or other wood products. Common types of fixings for chipboard include screws, dowels, and brackets, each serving a specific purpose and requiring different installation techniques.
Types of Chipboard Fixings
1. Screws Chipboard screws are specifically designed with coarse threads that provide superior gripping power in particle board. They typically feature a flat or pan head which allows for easy driving and delivers a flush finish. When using screws, it’s important to pre-drill holes to avoid splitting the chipboard, especially near edges.
2. Dowels Wooden or metal dowels can be used in conjunction with glue to create strong joints in chipboard furniture. Doweling involves drilling corresponding holes in both pieces of chipboard, inserting the dowel, and then applying adhesive. This method offers a clean finish and robust connection without visible fixings on the exterior.
3. Brackets and Corner Plates For furniture or structural applications where additional support is needed, brackets can be employed. These pieces of hardware provide reinforcement and stability, particularly in corners or joints where stress is likely to occur.
chipboard fixings

4. Cam Locks Often used in flat-pack furniture assembly, cam locks allow for easy assembly and disassembly. The process involves inserting a cam dowel into the chipboard and securing it with a cam locking mechanism. This offers convenience while maintaining the structural integrity of the piece.
Installation Tips
When working with chipboard fixings, proper installation is key to achieving a lasting result. Here are a few tips
- Pre-drill for screws To avoid damage to the chipboard, always pre-drill holes slightly smaller than the screw diameter and ensure the drill depth aligns with screw length. - Use the right adhesive If using dowels or other glued fixings, select an adhesive specifically designed for chipboard. PVA (polyvinyl acetate) glue is a common choice, providing a strong bond.
- Choose the right size Ensure that the fixings you select are appropriate for the thickness and density of the chipboard. Using fixings that are too long can pierce through the other side, compromising aesthetics and structural strength.
Conclusion
Choosing the correct chipboard fixings is essential for anyone working with this material, whether for DIY projects or professional applications. Understanding the various types of fixings available, along with the best practices for installation, can lead to more durable and aesthetically pleasing results. With the right approach, chipboard can be transformed into sturdy and elegant furniture that stands the test of time.
-
Weatherproof Plastic Expansion Anchors for OutdoorNewsJun.06,2025
-
Sustainability in the Supply Chain: Eco-Friendly TEK Screws ProductionNewsJun.06,2025
-
Load-Bearing Capacity of External Insulation FixingsNewsJun.06,2025
-
Double Head Bolts: Enhancing Efficiency in Industrial MachineryNewsJun.06,2025
-
Corrosion Resistance in Chipboard Screws: Coatings for Wholesale DurabilityNewsJun.06,2025
-
Butterfly Toggle Bolts : Enhancing Structural ResilienceNewsJun.06,2025
