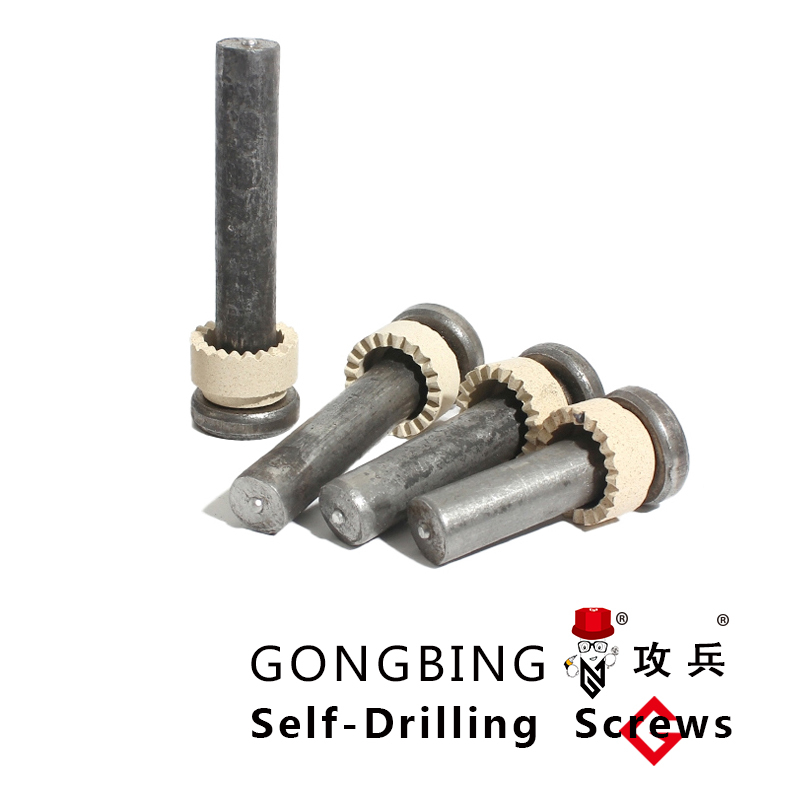
How to Properly Install a Wedge Anchor for Maximum Stability and Strength
Installing a Wedge Anchor A Comprehensive Guide
Wedge anchors are one of the most effective types of concrete anchors used to secure various structures, from machinery to shelving units. They are designed for use in solid concrete, providing a strong and secure hold. This article provides a step-by-step guide on how to properly install a wedge anchor, ensuring safety and stability for your applications.
What is a Wedge Anchor?
A wedge anchor consists of a threaded rod with a wedge-shaped end that expands inside the concrete. When installed correctly, these anchors can resist both pull-out and shear forces, making them ideal for high-load applications. They are available in various lengths and diameters, allowing for flexibility in how they are used.
Tools and Materials Needed
Before you begin, gather the necessary tools and materials
1. Wedge anchors (appropriate size for your project) 2. Hammer drill with a masonry bit (matching the diameter of the wedge anchor) 3. Torque wrench 4. Safety goggles 5. Dust mask 6. Vacuum or compressed air (to clean the hole) 7. Pencil or marker (for marking locations)
Step-by-Step Installation
Step 1 Choose the Right Anchor Size
The first step in using wedge anchors is selecting the appropriate size and type for your application. Consider the load requirements, concrete thickness, and environmental conditions. Always refer to the manufacturer's specifications for guidance.
Step 2 Mark the Placement
Once you have your materials prepared, mark the location on the concrete where the anchor will be installed. Ensure that the placement is accurate to avoid unnecessary drilling.
installing a wedge anchor

Step 3 Drill the Hole
Using the hammer drill and masonry bit, drill a hole into the concrete at the marked location. The hole depth should be at least 1/4 inch deeper than the length of the anchor. Use a vacuum or compressed air to clear away dust and debris from the hole, as this will help improve the anchor's grip.
Step 4 Insert the Anchor
Take the wedge anchor and insert it into the drilled hole. Be sure to leave enough protruding above the surface of the concrete to accommodate the item you are securing. For instance, if you need to attach a plate or bracket, ensure there is enough threaded length to accommodate the nut and washer.
Step 5 Tighten the Anchor
Once the anchor is in place, use a torque wrench to tighten the nut. As you tighten, the wedge portion of the anchor will expand against the concrete, creating a secure hold. Make sure to follow the manufacturer’s torque specifications, as over-tightening can damage the anchor or the concrete.
Step 6 Check Security
After installation, double-check the security of the anchor. Ensure it is not loose and that there are no visible cracks or signs of damage to the concrete. If installed correctly, the anchor should feel solid and securely fastened.
Additional Tips
- Temperature Considerations When working in cold temperatures, consider pre-drilling holes as the concrete may be more brittle. - Spacing and Load Distribution For applications that require multiple anchors, maintain adequate spacing between each anchor to avoid weakening the concrete. - Safety First Always wear safety goggles and a dust mask while drilling to protect against debris.
Conclusion
Installing a wedge anchor may seem daunting, but with the right tools and techniques, it can be a straightforward process. Following this guide ensures that your wedge anchors provide maximum strength and reliability, securing your structures effectively in concrete. Whether you are a DIY enthusiast or a seasoned professional, understanding the installation process of wedge anchors can save time, improve safety, and result in successful projects. Happy anchoring!
-
Weatherproof Plastic Expansion Anchors for OutdoorNewsJun.06,2025
-
Sustainability in the Supply Chain: Eco-Friendly TEK Screws ProductionNewsJun.06,2025
-
Load-Bearing Capacity of External Insulation FixingsNewsJun.06,2025
-
Double Head Bolts: Enhancing Efficiency in Industrial MachineryNewsJun.06,2025
-
Corrosion Resistance in Chipboard Screws: Coatings for Wholesale DurabilityNewsJun.06,2025
-
Butterfly Toggle Bolts : Enhancing Structural ResilienceNewsJun.06,2025
