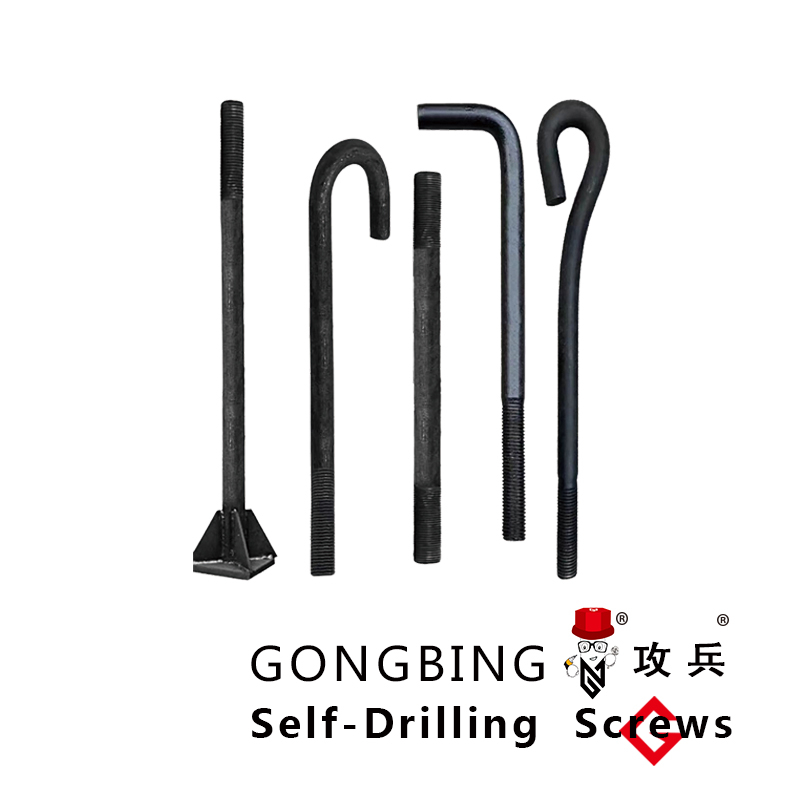
Guide to Installing Butterfly Anchors Effectively and Securely for Various Applications
Installing Butterfly Anchors A Comprehensive Guide
Butterfly anchors, also known as toggle bolts, are essential fasteners used in construction and DIY projects to secure items to hollow walls, such as drywall or plaster. Unlike traditional screws and anchors, butterfly anchors provide superior stability and strength, making them ideal for hanging heavier items like shelves, mirrors, and cabinets. This article will guide you through the process of effectively installing butterfly anchors to ensure a secure hold for your projects.
What You Need
Before diving into the installation process, gather the following tools and materials
1. Butterfly anchors (appropriate size for your project) 2. A drill with a drill bit (matching the size of the anchor) 3. A screwdriver (usually a Phillips head) 4. A level (for alignment) 5. A pencil (for marking) 6. Safety goggles (to protect your eyes)
Step-by-Step Installation Process
Step 1 Choosing the Right Anchor Size
When selecting butterfly anchors, consider the weight of the item you wish to hang. Butterfly anchors come in various sizes, each designed to hold different weights. Ensure that the anchor can support at least double the weight of the item to provide a secure installation.
Step 2 Marking the Hole
Once you have the necessary materials, decide where you want to install the anchor. Use a level to ensure your markings are straight. With a pencil, mark the center point where the butterfly anchor will go. This step is crucial as it guarantees that your object will be hung straight on the wall.
Step 3 Drilling the Hole
installing butterfly anchors

With your marked spot in place, use the drill and the appropriate drill bit to create a hole in the wall. The hole should be slightly larger than the closed anchor's diameter. Be sure to drill straight into the wall, as misalignment can weaken the anchor's effectiveness.
Step 4 Preparing the Butterfly Anchor
With the hole drilled, it’s time to prepare the butterfly anchor. The wings of the anchor must be inserted into the wall through the hole. To do this, gently squeeze the wings together until they are aligned with the shaft of the anchor.
Step 5 Inserting the Anchor
Next, insert the butterfly anchor into the drilled hole. Push it until the wings open up on the other side of the wall. This design allows the anchor to grip the interior surface of the wall, providing a strong hold. Ensure that the anchor is fully inserted, with the mounting plate flush against the wall.
Step 6 Securing the Anchor
Once the anchor is in place, take a screwdriver and insert it into the anchor’s screw hole. Turn the screw clockwise until it is tight. As you tighten the screw, the wings will expand further against the back of the wall, securing the anchor firmly in place. Be cautious not to over-tighten, as this could damage the wall or strip the anchor.
Step 7 Attaching Your Item
Now that the butterfly anchor is securely installed, you can proceed to attach the item you wish to hang. Align the item with the anchor, and using the appropriate screws or hardware, fix it onto the anchor. Again, ensure everything is level as you tighten the screws.
Final Thoughts
Installing butterfly anchors is a simple yet effective way to safely hang heavy items on hollow walls. By following the steps outlined above, you can achieve a strong and neat installation. Always remember to factor in the weight of the object being hung and choose the right size of anchor to avoid any accidents. With the correct installation, butterfly anchors will provide you with peace of mind, allowing you to enjoy your decor without worry. Happy hanging!
-
Weatherproof Plastic Expansion Anchors for OutdoorNewsJun.06,2025
-
Sustainability in the Supply Chain: Eco-Friendly TEK Screws ProductionNewsJun.06,2025
-
Load-Bearing Capacity of External Insulation FixingsNewsJun.06,2025
-
Double Head Bolts: Enhancing Efficiency in Industrial MachineryNewsJun.06,2025
-
Corrosion Resistance in Chipboard Screws: Coatings for Wholesale DurabilityNewsJun.06,2025
-
Butterfly Toggle Bolts : Enhancing Structural ResilienceNewsJun.06,2025
