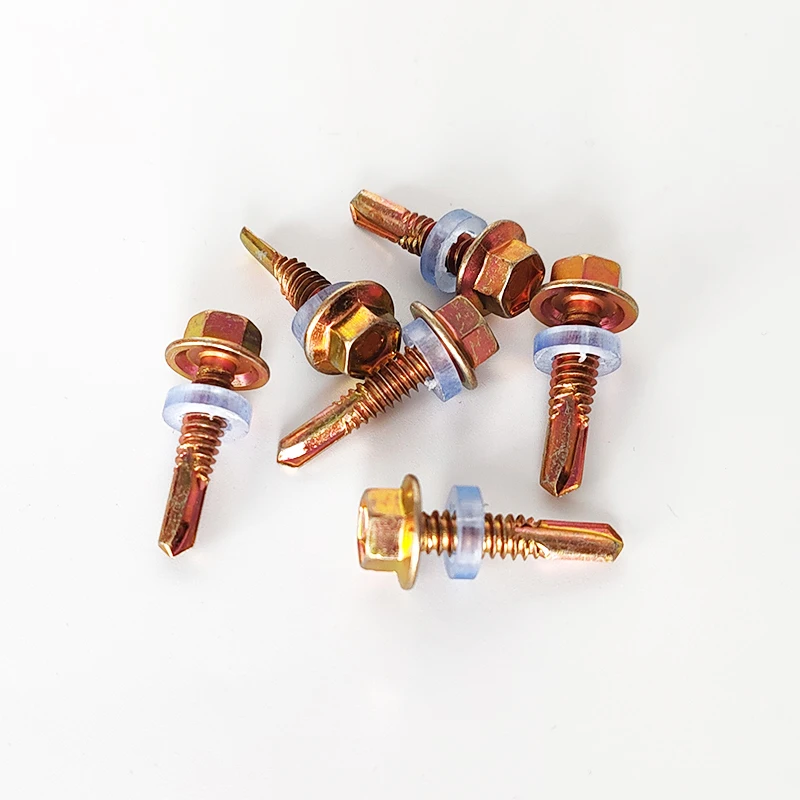
installing a wedge anchor
Installing a Wedge Anchor A Step-by-Step Guide
Wedge anchors are a popular choice for securing heavy objects to concrete, providing robust support for various construction and architectural needs. Whether you are fastening equipment, attaching railings, or installing shelves, knowing how to install a wedge anchor properly is crucial for ensuring its strength and stability. This guide will walk you through the installation process step-by-step.
Materials Needed
Before starting, you will need the following materials - Wedge anchors (choose the appropriate size and length for your application) - Hammer drill - Masonry drill bit (the same diameter as the wedge anchor) - Torque wrench or adjustable wrench - Hammer - Vacuum or brush for cleaning the hole - Safety gear (gloves, goggles, and dust mask)
Step 1 Choose the Right Wedge Anchor
Selecting the correct wedge anchor is vital. Consider the weight of the object you intend to secure and the thickness of the concrete. Wedge anchors come in various lengths and diameters, typically ranging from 3/8 inch to 1/2 inch in diameter. Ensure the anchor length exceeds the concrete thickness by at least an inch.
Step 2 Mark Your Spot
Once you have the appropriate anchor, mark the desired location on the concrete surface. Use a level to ensure accuracy, especially if you're installing multiple anchors in a straight line.
Step 3 Drill the Hole
Using a hammer drill and a masonry bit, drill a hole into the concrete at the marked spot. The hole should be the same diameter as the wedge anchor and deep enough to accommodate the entire length of the anchor, plus an extra 1 inch. After drilling, clean the hole thoroughly with a vacuum or brush to remove dust and debris, ensuring optimal holding power.
installing a wedge anchor

Step 4 Insert the Wedge Anchor
Insert the wedge anchor into the drilled hole. Ensure that the anchor is flush with the concrete surface; it should not protrude or sink below it. The tapered end of the anchor should be pointing into the hole.
Step 5 Tighten the Anchor
Using a wrench or torque wrench, tighten the nut that comes with the anchor. This step is crucial, as proper tightening will activate the wedge mechanism, expanding the anchor against the concrete and providing a secure hold. Follow the manufacturer’s guidelines for the recommended torque specification.
Step 6 Verify the Installation
Once tightened, double-check that the anchor is secure. Give it a gentle pull or wiggle to ensure it is firmly lodged in the concrete. If installed correctly, it should not budge.
Step 7 Attach Your Object
With the wedge anchor securely installed, you can now proceed to attach the object or fixture you wish to secure. Follow the respective installation guidelines for whatever you are anchoring to ensure complete stability.
Conclusion
Installing a wedge anchor is a straightforward process that, when done correctly, provides lasting support for your projects. By following these steps and paying attention to safety and specifications, you can ensure a robust and secure installation. Remember, always prioritize safety, and take your time to achieve the best results. Happy anchoring!
-
Weatherproof Plastic Expansion Anchors for Outdoorସମ୍ବାଦJun.06,2025
-
Sustainability in the Supply Chain: Eco-Friendly TEK Screws Productionସମ୍ବାଦJun.06,2025
-
Load-Bearing Capacity of External Insulation Fixingsସମ୍ବାଦJun.06,2025
-
Double Head Bolts: Enhancing Efficiency in Industrial Machineryସମ୍ବାଦJun.06,2025
-
Corrosion Resistance in Chipboard Screws: Coatings for Wholesale Durabilityସମ୍ବାଦJun.06,2025
-
Butterfly Toggle Bolts : Enhancing Structural Resilienceସମ୍ବାଦJun.06,2025
